You’ve got your tunnel in 3D space in Blender,which you’ve rendered with a matchmove camera. So, now is time to stop thinking in 3D and think of the comp as containing two 2D videos, which you now have to blend together.
If this was a weather map, you’d do exactly as you just in 1.5). So just think of it that way.
In terms of help “sell” this effect, think about the contrast and the blurring on the object. Try to colour match the darkest parts of the tunnels to the darkest shadows you can see.
You might also want to replicate part of the cliff wall, so that the join with the tunnel is easier to hide. And think like a magician, by which I mean draw the eye away from any edges where your VFX meet reality.
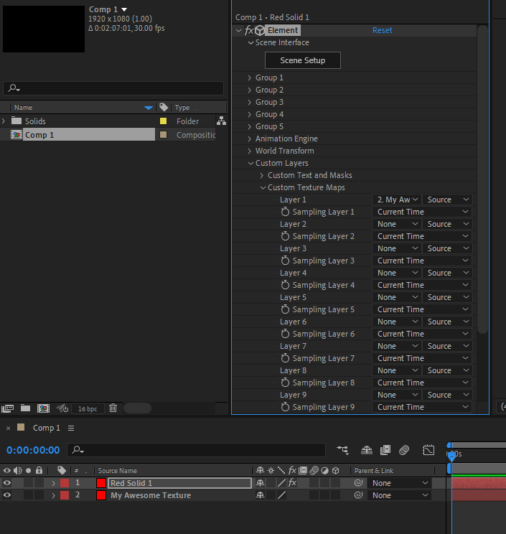
Once you’ve got the tunnel blended into the shot, that’s when you start thinking in 3D again and add all the extra bits like barbed wire. Blender can export OBJ files, which you can import into either C4D Lite (or if you have the cash Element 3D from Video Copilot).
My last bit of advice, I have a 4-second rule for VFX. Anything after 4 seconds and your eyes start to pick up on the little, telltale details. I’m sure plenty of professsionals disagree with me on this, but it works for me.