Forum Replies Created

Page 8 of 374
  • If you have access to trapcode form you can create and do this in a snap. If not you could fake it by placing those dots in a precomp and a mixture of “distort” effects applied to them, like turbulent displacement, bulge and so on. They won’t be moving truly in 3D but you could probably get a look pretty close.

    Otherwise, it would probably be possibly with some serious expression work. Something that moves 1 dot in all three axis and then near dots look at that dot for cues on how to follow, but that’s a level of coding beyond me.

  • Thanks Eric & Walter. After 25 years(20 for AE) of post production, this is a project I definitely wanted to confirm my workflow before attempting to create all of this content. If interested, the final output will be positioned in a single 4K raster. but essentially will be 4 different videos.

    Sent a small sample to the client and their favorite part was when graphics and animations moved across all the videos, so good start.

    And not that surprising, but even after all this time, I’m still learning new things about AE, I had know idea I could create 4 files from a single render. That bit of knowledge would have come in handy on a very similar project last year. I guess I haven’t gotten to the old dog stage yet cause you can still teach me stuff.

    Thanks again, always appreciate the expert knowledge this community provides.

    Johnny

  • Thanks Eric .

    Yes, it’s one player. All the videos will at the end be placed into a single 4K raster. Glad I’m on the right track. This is one of those projects where the right workflow will save a ton of time later.

  • John Cuevas

    February 1, 2024 at 3:57 pm in reply to: Changing colors and prints of clothing of moving people

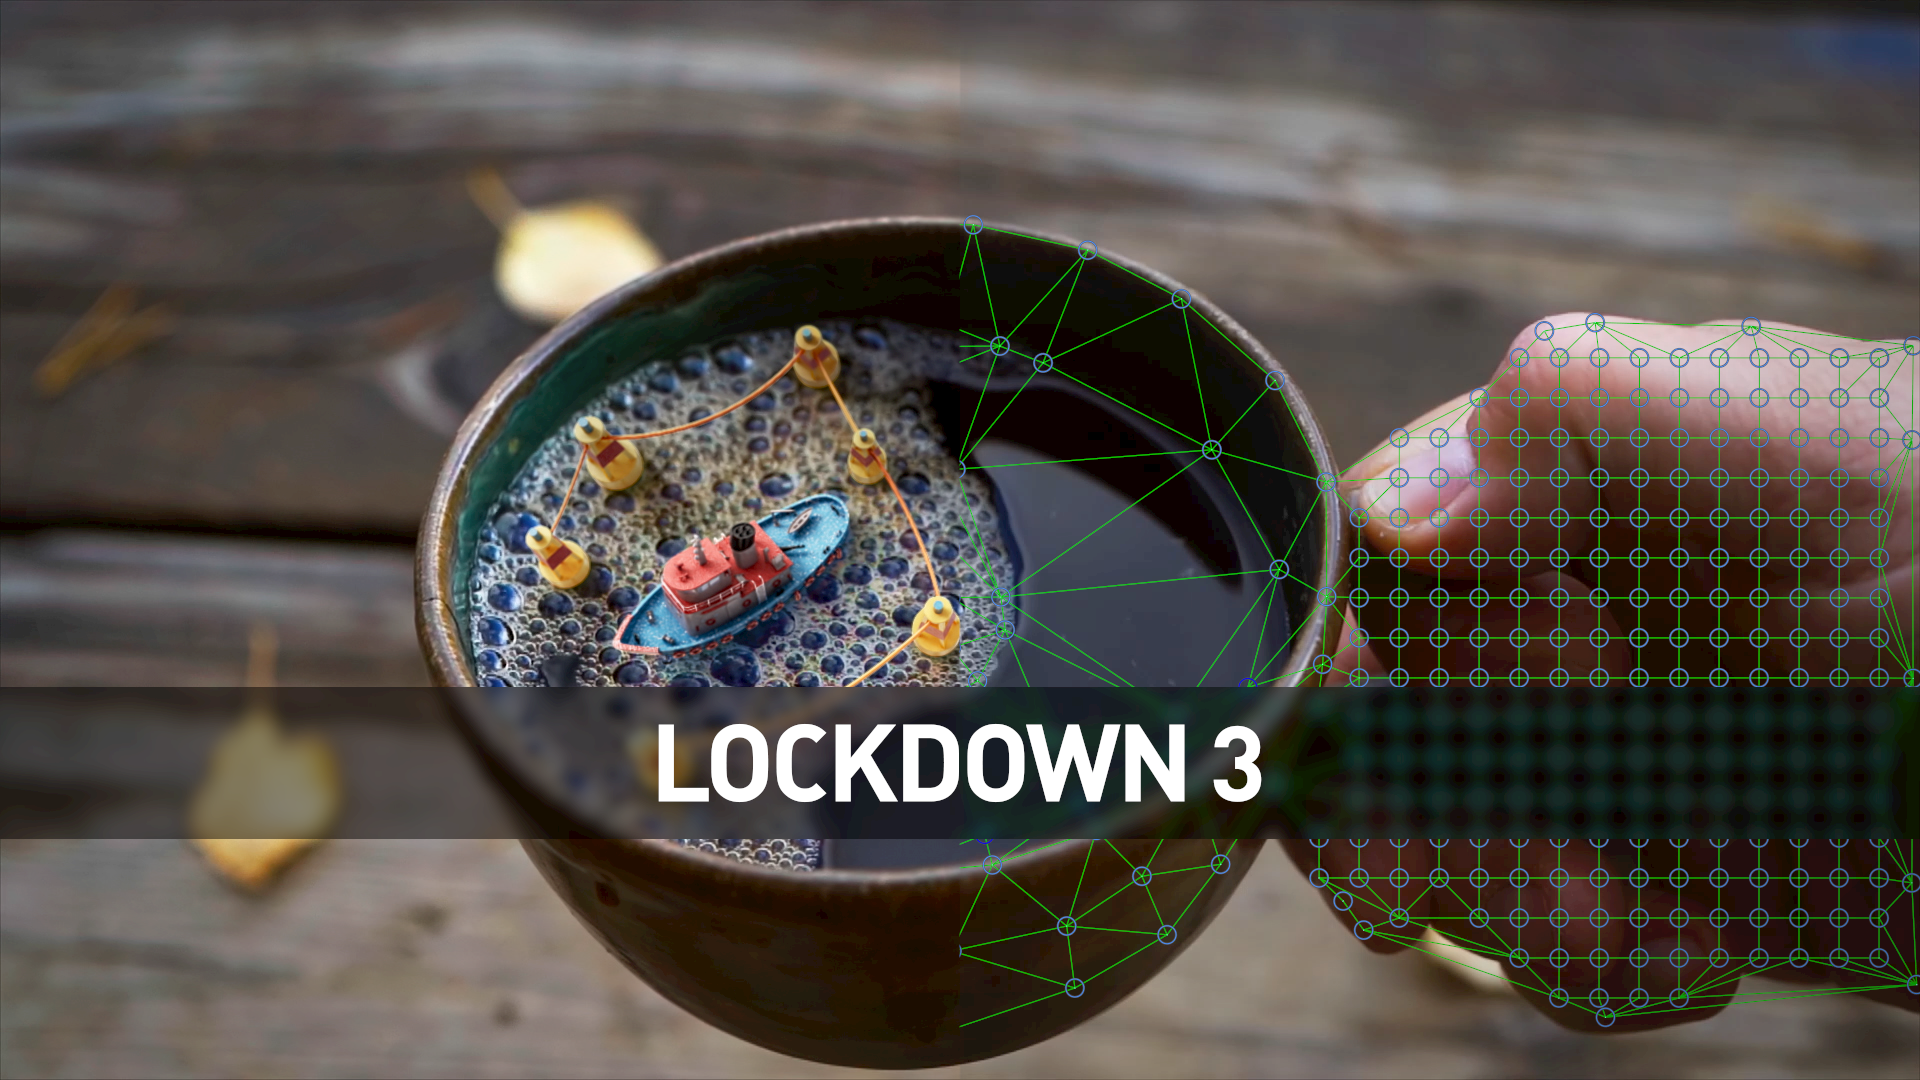
    That’s an extremely big project to do. I would suggest you would really need to learn the Lockdown 3 script that tracks warping surfaces.

    https://aescripts.com/lockdown/

  • John Cuevas

    January 29, 2024 at 6:35 pm in reply to: Older uploaded projects?

    Thanks Brie, I was just wondering if they might be just somewhere. All good, at least I wrote detailed instructions on how I made each one.

  • John Cuevas

    January 3, 2024 at 8:03 pm in reply to: Add 10% brightness to shape layer fill HSB

    Dan you are the best!!!

  • John Cuevas

    October 25, 2023 at 2:30 pm in reply to: How to Keep WebM Transparency in AE?

    Because AE doesn’t see an alpha channel, I’m not sure if you could bring it into encoder and then convert it to a format that contains an alpha channel that AE recognizes(like PNG).

    Otherwise, there are a number of effects you can use to remove the black. Probably the easiest, open up your effects and presets and apply the “Remove Color Matting” preset to your file. Then apply a “levels” effect to the clip, change the channel to “Alpha” and change the “Alpha Input White” to 1. If you get some aliasing, I would add a “simple choker effect” set to 1 and a “channel blur” set to 2.

    Another way is to play with the extract effect and extract the black from the clip. I find this leads to more aliasing, but it does have a built in feather.

    Here’s a project with a couple of samples. HTH.

  • John Cuevas

    October 24, 2023 at 6:01 pm in reply to: Copy lighting from video on to an Image

    There a so many ways to do this, but you asked for easy…

    The easiest would be to create a couple of shape layers to be your lights and animate the position to emulate the actual lights. Then play with the transfer mode until you achieve the look you want. You might want to make multiple copies of your shape layer and adjust the size to create hot spots.

    In my example, I used a loopout(“pingpong”) expression on the position. It makes the layer go back and forth between the the two keyframes forever. If you want to go that route, just create your keyframes, then alt+click position and copy the expression into the blank line.

  • Unless the camera is stationary, you are looking at huge task. If it’s stationary, you could create a chair, floor & wall to take cover up most of the microphone(cloning). The part above the chair will be problematic because your speaker is moving, which will cause the jacket to move. If the jacket stays relatively still you could clone that and lay it over the microphone and when she moves, do your best to clone the jacket as it moves.

    You could try generative AI in photoshop or After Effects as a starting point, and then manually fix frames that don’t match up. But for a hour long interview, you are looking at a ton of work. You have over 85,000 frames to fix.

  • You want to use the “Create Nulls from Paths” script. Click on the Window menu item, and scroll down and chose that script. Create your path using the shape tool and a stroke. Select the path in your shape layer then choose “Trace Path”. This will create a null that animates along the path. There will be a “Trace Path” effect added to the null, turn off “Loop”.

    On your shape layer at a “Trim Paths” and animate the end point for your stroke to grow. On the null, twirl open “Progress” click in the expression field and delete the expression and also delete the progress keyframes. Use the pick whip to have the progress follow the “End” of the trim paths. On the Null, open rotation and delete the expression. Now you just need to parent your text to the Null and position accordingly.

    See example file.

Page 8 of 374

We use anonymous cookies to give you the best experience we can.
Our Privacy policy | GDPR Policy