Forum Replies Created

Page 4 of 4
  • Michael blaq

    December 6, 2022 at 9:45 pm in reply to: pinning texture to hair?

    Hi,

    Which technique are you trying to use camera base projection? Could you also share the texture you are trying to map unto the hair?

  • Michael blaq

    December 6, 2022 at 9:22 pm in reply to: R25 Freezes during simple rotation keyframing

    Hi Hilary,

    Is it feasible to obtain the exact build version of your Cinema 4D? The majority of these issues have been addressed in the most recent build version of your theater.

    Upgrade to the newest build version. If the problem persists, could you perhaps send me a scene file to investigate?

    Cheers! I hope this helps.

  • Michael blaq

    December 6, 2022 at 9:04 pm in reply to: Getting Particle objects to face towards camera

    Hi jake brown,
    You don’t need x-particles for this configuration. This is simple to implement using the native particles emitter and dynamics, which is now bullet.

    1. Make the Letters as child object of the emitter.
    2. Add a rigid body tag to the emitter and make sure the inherit tag is applied to children.
    3. Under the force attribute on the rigid body tag, set follow position 1.

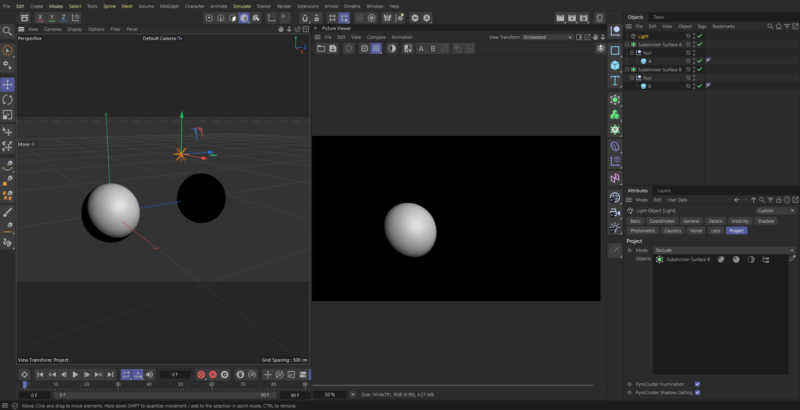
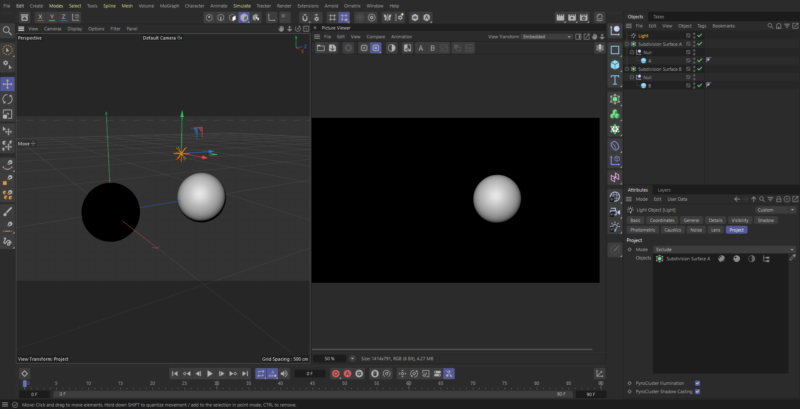
    4. Set the follow rotation to a desired figure 0 = rotation based on the rigid collision. I used 33 to give the falling letters a slight rotation whiles each faces the camera as shown in the screenshots.

    5. Under the Particles attributes on the emitter set your desired speed value and add a variation to vary the speed as they fall.

    6. Make sure show objects and render instance is checked.

    Hope this helps. I have added a scene file for you to examine. Cheers!

    This was reproduced on Cinema 4D 2023.

  • Michael blaq

    December 6, 2022 at 1:11 am in reply to: Simulating Hair With Imported Hair Xgen Hair

    C4D doesn’t have a feature to allow you to simulate a dense imported hair scene. with houdini you could sample a percentage of the imported hair as guide and use that to drive the hair sim but not with cinema 4d.

    The best option will be the suggested approach I shared earlier.C4D doesn’t have a feature to allow you to simulate a dense imported hair scene. with houdini you could sample a percentage of the imported hair as guide and use that to drive the hair sim but not with cinema 4d.

    The best option will be the suggested approach I shared earlier.

  • Michael blaq

    December 6, 2022 at 12:58 am in reply to: Simulating Hair With Imported Hair Xgen Hair

    My first approach to solving this;
    1. Import guide hair only from maya xgen to cinema 4d.
    2. Simulate the guide hair.
    3. Use the guide hair to generate the dense hair/final hair.
    4. Import groom masks maps (image) to drive the groom layers where necessary. Your scene have four layers of hair groups.
    N.B: Maya uses both ptex and image maps(needs UV’s done) to drive groom mask. Depending on your groom artists workflow.
    5. Bake simulation. (I have shared a sim config preview to achieve the subtle dynamics effect)
    6. Render with redshift

    Second Approach (which you are trying now):
    1. Import the dense hair
    2. reduce the points count per strands by 12-18 based on the hair group and it’s length. Do this under the guides tab on the hair attributes. This will make your scene quite optimized for you to run a simple dynamics sim.
    3. Bake sim and render.

    N.B Make sure your scalp mesh has a hair collider tag for collision of hair strands.

    I hope this helps. Cheers!

  • Michael blaq

    December 6, 2022 at 12:42 am in reply to: Simulating Hair With Imported Hair Xgen Hair

    Hi Kristofer,

    I had the chance to review your stripped down scene. I have got a few suggestion to make your scene less heavier and also get some dynamics movement in your scene as how you wanted.

    First of all, hair simulation is based on guides. The guides are simulated and then transferred to the generated hair based on their radius of influence on generated hair.

    With your setup you are importing the cached generated hair to cinema 4d with millions of hair strands which will be difficult for any machine to output a simulated data. On the other hand simulated guides have really low vertex count/point count on each guide strand depending on the hair length.

    Your imported hair has about 99-300 points per hair strands which makes simulation impossible for the total number of hair strands in your scene. Not sure of the current specs of the workstation you are using.

  • Michael blaq

    December 5, 2022 at 11:16 pm in reply to: Rookie Dynamics Question

    Greetings Joey,

    It will be great to see a gif or a link to a sample of your dynamics scene. What I do know about cinema 4D dynamics is, not relying on the the playback sim in your viewport but rather cache your dynamics each time the scene is tweaked to get the right results when rendering.
    As well as finding the best values for your substeps and scene scale under the bullet attribute panel.
    https://www.youtube.com/watch?v=ETTHZZPKAsk

    It’s imperative to cache your scene file with dynamics before hitting the rendering button to prevent simulation glitches.

    On the other hand, it will be great to explore guided dynamics simulations for better results especially with a scene like yours. Thus, hiding collider objects and or dynamic forces in your scene to art direct the ball sim. Cheers!

    Some contents or functionalities here are not available due to your cookie preferences!

    This happens because the functionality/content marked as “Google Youtube” uses cookies that you choosed to keep disabled. In order to view this content or use this functionality, please enable cookies: click here to open your cookie preferences.

  • Michael blaq

    December 5, 2022 at 10:52 pm in reply to: Houdini in .abc, imported into C4D

    Hi javier, Are you exporting your particles from houdini together with the needed attributes? If possible can you share a 2-3 frames of your alembic for me to debug?

  • Michael blaq

    December 5, 2022 at 10:14 pm in reply to: Subdivision Surface–light only one object in inside?

    Hi Tim, the issue was with your scene setup. You will have to break up your hierarchy by having sphere A and B in a separate Subdivision Surface(SS) object in order to only illuminate one object/mesh at a time. See my screenshot below for illuminate each object separately. Hope this helps. Cheers!!

    Running on Cinema 4D 2023.

Page 4 of 4

We use anonymous cookies to give you the best experience we can.
Our Privacy policy | GDPR Policy