


Brad Bartkus
Forum Replies Created
-

I’ve seen the Russell Brown stuff on lenticular (very amateurish at best) but he’s using off the shelf lenticular interlacing software, not anything built right into Photoshop.
-
Any particular site you could direct me to, to find this in action? I can only find some CS4 info that shows some basic 3d stuff, but nothing lenticular specific. I currently use proprietary software for interlacing lenticular images, but it would be interesting to see what Adobe has come up with.
-
Thank you so much for responding to this. I appreciate the movies. What I was trying to do though is have the clouds up on a separate layer like in the real world, so you’d see an atmosphere above the Earth.
I’ll keep trying. Feel free to play some more and send me another movie, I’d love to see what yoou come up with. -
Brad Bartkus
April 3, 2008 at 5:20 pm in reply to: How do I get this che guevara effect in photoshop and/or illustrator?I did it here with Posterize:
https://www.flickr.com/photos/60296545@N00/1572952706/in/set-72157594368193561/But you could also bring it into Illustrator and use LiveTrace (Or live Paint) to convert it to vector art.

-
Go to File, then Automate, then Search Google for 3d model.
Find the model you want and click on download. It’ll save it to your desktop and then open it automatically in Photoshop.
Once you have the model saved you can also bring it into another rgb Photoshop file by going up to Layer, then 3d layers, and then New Layer from 3d file.
A new layer will be created with your model on it. Then you go to your layers and double click on it to move it, spin it around, scale it, change the lighting, etc. -
I usually start out with a layer that I’ve filled with 50% black. Then I duplicate one of the channels and use that as a mask to brighten or darken areas. Then I do a gaussian blur to soften it a bit and then go in and dodge and burn the areas even more (all of this is done while the layer is set at a slight opacity so you can see the image underneath). What’s nice is you can see your changes in AE and if you don’t like the way the displacement map is working you can go back in Photoshop and tweak it and the reload footage and try again. I’ve used this technique to skew ground planes (with a simple gradient), faces, mountain ranges, clouds, fireballs, etc.
-
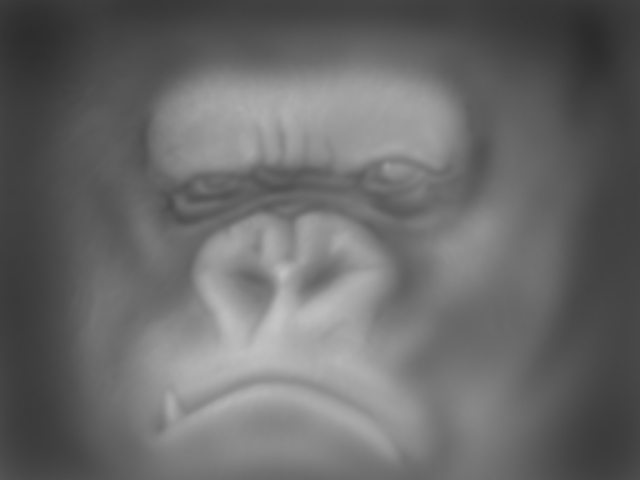
Here’s my displacement map that everyone’s referring to. As you can see, mine’s got a little more detail to it, but it’s similar to the one’s above.
https://flickr.com/photos/60296545@N00/2216808930/
-
Sure!
So you’ve got the photo of Kong (or whatever) and another layer with the displacement map on it (light areas for elements you want coming out at you, darker areas for elements going back). You open that in AE, go up to Effect_Distort_Displacement Map, then under the Effect Control you select the layer with the Displacement map in the drop down menu, select luminance under Use for Horizontal,then go down to Use for Vertical and turn it off (set Max Vertical Displacement to zero. Then go back up to Max Horizontal, set a keyframe and enter a minus number (like -20 for starters) then under your timeline slide over to your last frame, the go back up to Max Horizontal and enter a positive number (plus 20 now, so you’ve got an even before and after). Then hit the spacebar to preview the render. -
So apparently you can now bring a CMYK file into After Effects without getting an error message…But you can’t render the files out as CMYK???? What gives Adobe?
-
You can render your frames as Photoshop files. That might help.
1. Add to Render Queue
2. Go down to Output Module and click on Lossless
3. Under Format choose Photoshop Sequence (Or TIFF sequence)You may want to also go to your Composition Settings and increase your pixel count. If you create a Photoshop file to the size of your printed piece (Trim plus a quarter inch bleed) at 300 pixels per inch that will give you your size in pixels. You’re also going to notice a difference when you convert from rgb to cmyk mode for print. Check your Color settings in Photoshop to get the desired color conversion you think works best. (If you’re just going to be sending your file to a commercial printer/prepress dept. you may want to have them do that, if you’re not familiar with that.)
Hope that helps!