Creative Communities of the World Forums

The peer to peer support community for media production professionals.

Activity Forums Maxon Cinema 4D alternatives to boole object (maxon cinema 4d)

  • alternatives to boole object (maxon cinema 4d)

    Posted by Tom Morton on September 19, 2023 at 3:12 pm

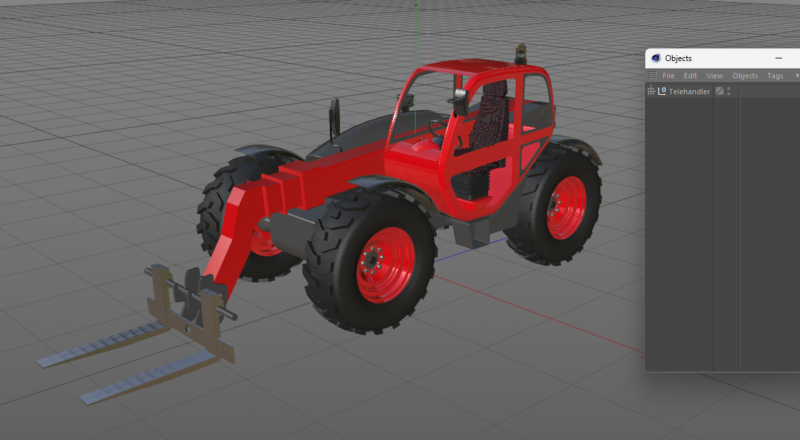
    So like some others, I’m not having an amazing time with booleans. I’ve got a very complex model of one of our products ( I can’t share the model because of company policies, sorry). For some animation work I’m doing, I’m cutting into the product to show how it looks inside, and I’ve been using a boole for this.

    However, it’s not a great option and I want to know if there are any alternatives. Ideally, I’d like to use an option that doesn’t alter the geometry, just hides it, as the boolean seems to always try to create a new object from the intersecting geometry (a simple cube). For animation work, I just want to be able to view inside the product, I really don’t want any geometry to change.

    I’ve tested a lot of different ways to use Booles:

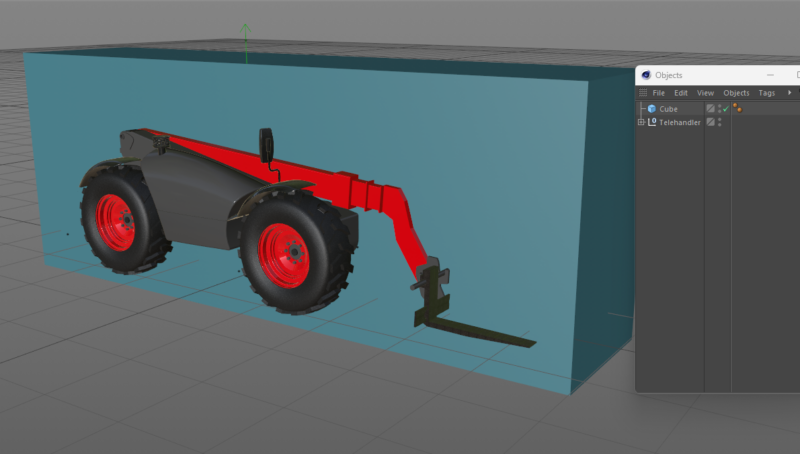
    – with high quality on, the product often disappears from view completely. The intersecting object is moving during the animation, so at some points it obviously struggles with the geometry and the whole thing disappears.

    – I’m using high quality off as it’s the most stable. However I still get a lot of geometry flicking about as the intersecting object moves.

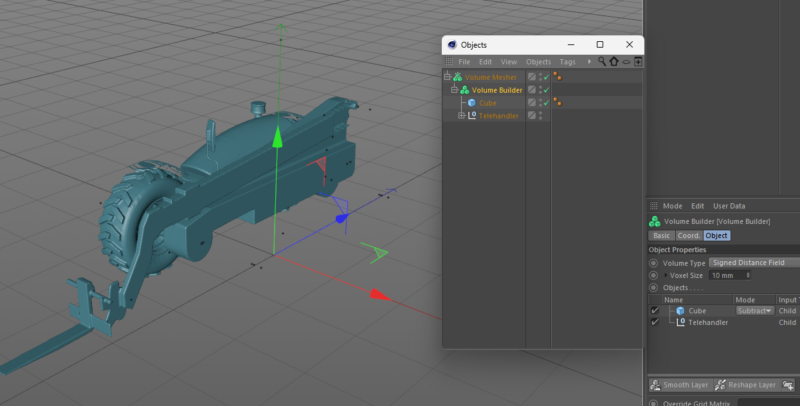
    – I’m using ~”without” rather than subtract or intersect as it seems to give the best results. In testing, the other options have often made geometry worse.

    – I’ve tried increasing and reducing the subdivisions on the intersecting object, but this makes no difference at all.

    So is there anything else I can try? I just feel that a professional animation program like C4D would have an option to be able to view inside an object without affecting geometry – and maybe I’m just missing it?

    Kouraib Abdmalek
    replied 1 week, 5 days ago
    4 Members · 24 Replies
  • 24 Replies
  • George Charoupas

    September 19, 2023 at 5:28 pm

    Hello Tom,

    Would the Volume Mesher – Builder work for you?

    You can create a cube big enough to cut your object and on the volume builder set that cube as substract.

  • Kouraib Abdmalek

    September 19, 2023 at 5:36 pm

    Hi Tom,

    You could also select the polygons that you want to hide them then make it disconnected so you get an other object for this polygons now you could hide the new object in the render and the editor from the right panel and you could later reconnect it using “optimise”

  • Tom Morton

    September 20, 2023 at 6:39 am

    Hello George,

    thanks, that’s an interesting option and I’m just having a play around with it now. I put 2 simple cubes together and set one to subtract but you get this organic fillet / rounded edges on them. I tried decreasing the voxels to 0.1mm to fix it but my computer can’t handle it!

    Just thinking though, as a volume builder, this also may close off the opening, whereas I want an open hole to look into the model. I’ll keep having a play around with it but I’m not sure it will fix this just yet. Thanks very much for the reply though.

  • Tom Morton

    September 20, 2023 at 6:43 am

    Hello Kouraib,

    thanks for the reply! I think I understand, but to confirm, you’re suggesting to cut the object in half and tidy the polygons, then I can animate half disappearing so that I can view inside. I think that could work, and it would be very reliable geometry – but it will be a lot of extra work. I’ve got a series of animations to do on a complex product, and I’ll be cutting through the product from lots of different angles, so each animation would need to be remodelled. It also wouldn’t be dynamic, you wouldn’t see the product being cut away in the animation.

  • George Charoupas

    September 20, 2023 at 7:06 am

    What you can do is to have a big number in voxel just to have a very smooth viewport and when you are about to render it, decrease the voxel to a very small number. You will not be able to see it in the viewport but it will not have an effect on the render time.

  • Tom Morton

    September 20, 2023 at 8:17 am

    Hello George, thanks again for the reply.

    So I’ve just tried this out on a more complex model to see how it will work. I’ve attached some images, hopefully they come out in order:

    1. telehandler with textures

    2. added simple cube to intersect it.

    3. drop both cube and telehandler into volume builder

    4. drop volume builder into volume mesher

    However, in all cases, I lose all the textures on the model, and the resulting geometry is a closed volume – I can’t see inside. Let me know if there’s any way to fix these points? I’ve brought the voxels down to 10mm in this, anything below 5mm starts taking longer to calculate. I can bring it down lower for render, but if I can’t get the colours or see inside then I’m afraid this method won’t work for me. Really appreciate your help though.

  • Kouraib Abdmalek

    September 20, 2023 at 8:49 am

    You are right that the method I suggested requires additional work, but if you use the knife tool with the “only visible” feature disabled, you can easily divide any shape. I also suggest that you make a separate file for the shapes that you will cut so that you do not have to weld them again. Otherwise, you can do this work in a similar way easier in other other programs such as AutoCAD if that help you.

    Thanks

  • George Charoupas

    September 20, 2023 at 9:56 am

    No you can’t do it like that.

    The volume builder’s purpose is to create a connected volume out of shapes. Everything you put in there gets connected or subtracked.

    So the procedure is this:

    1) In the hierarchy you put as top object the Volume Mesher. As a child you put the Volume Builder and as a child the objects.

    2) You will need to have for each object (that needs to get subtracked) a volume Mesher-builder, so they don’t connect with each other.

    3) You place the materials on the Volume Mesher.

    4) On the Volume Builder you might need to add in the object section an SDF Smooth.

    5) Now you will have to place in all these volume builders, a cube inside that will subtrack the main object.

    6) You can place a cube outside these meshers and link them all together, so when you move the external cube, all of them to move. It can be done via expresso(super easy).

  • Kouraib Abdmalek

    September 21, 2023 at 8:48 am

    This is another way using “volume builder” to cut through your model without problems. You will find an explanation of this in the second half of this tutorial

    https://youtu.be/EPQ7lCmfxBg?feature=shared

    Some contents or functionalities here are not available due to your cookie preferences!

    This happens because the functionality/content marked as “Google Youtube” uses cookies that you choosed to keep disabled. In order to view this content or use this functionality, please enable cookies: click here to open your cookie preferences.

  • Andy Kiernan

    September 21, 2023 at 2:56 pm

    If the object textures are reliant on UVs, youll lose them using the volume builder as its creating new geo and new UVs.

    Could it be as simple as using the camera near clipping plane?

    Im not sure about Redshift, but Octane has a clipping material which is good for this I think.

Page 1 of 3

We use anonymous cookies to give you the best experience we can.
Our Privacy policy | GDPR Policy