

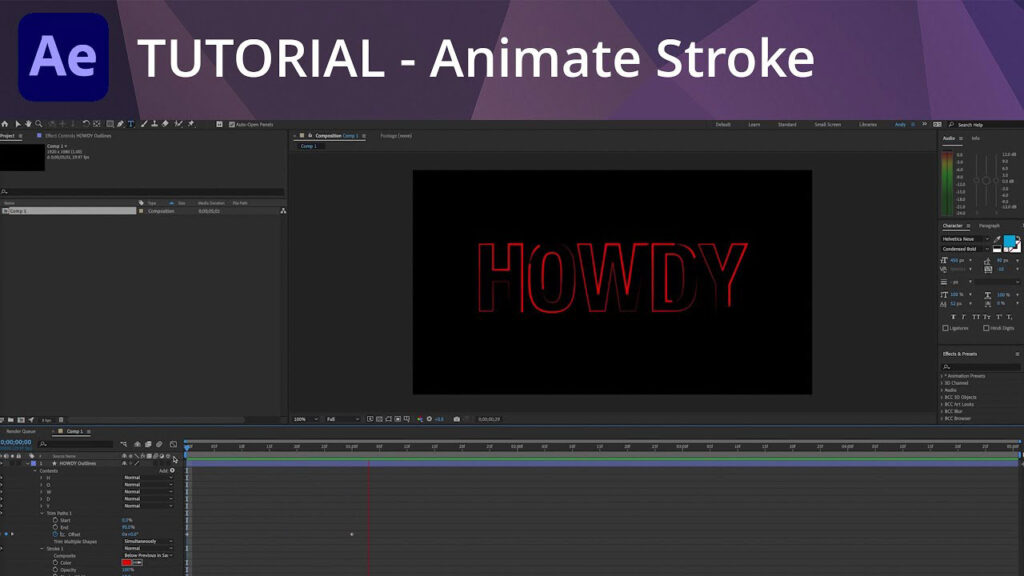
AE Text Effects: Animating a Stroke

One common After Effects text treatment is animating the stroke. This relatively simple task offers a lot of creative options.
First, make your text layer. Then, go to Layer…Create…Create Shapes from Text. This creates a new layer with your shape outlines. When you twirl down, you will see each letter from your text listed. Turn off the fill for each layer since we are only dealing with stroke.
Then, add a stroke. This will control the stroke, and you’ll see numerous options that you can animate, such as the stroke width, opacity, and color. You can also turn your stroke into dashes and animate them.
But, in order to animate the full stroke, we need to add Trim Paths. This enables us to keyframe the start and end of the path. Other options in Trim Paths include the offset, which can be animated to create a racing outline of your text. Further embellish your look by playing with the taper or wave aspects of the stroke.
Here is a short tutorial video demonstrating this process:
Enjoying this tutorial? Sign up now for the Creative COW Newsletter!

Sign up for the Creative COW newsletter and get weekly updates on industry news, forum highlights, inspirational tutorials, tips, burning questions, and more! Receive bulletins from the largest, longest-running community dedicated to supporting professionals working in film, video, and audio.
Enter your email address, a first and last name, and let us know what you’d like to see more of in the message!
[contact-form-block name_label=”Name” email_label=”E-mail” message_label=”Message” header=”false” header_image_id=”null” header_image_size=”50″ header_image_align=”left” header_title=”Get in Touch” header_text=”Leave your message and we’ll get back to you shortly.” button_text=”Send” button_color=”#3d84f6″ button_text_color=”white” align=”undefined” theme=”default” message_rows=”5″][/contact-form-block]
Responses