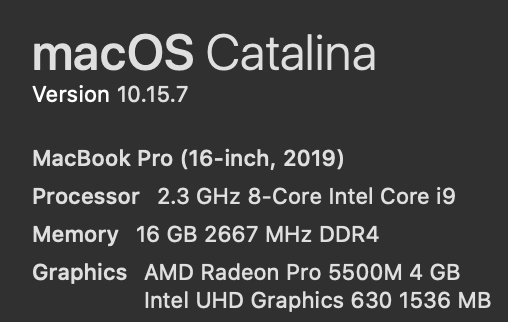
As a first step, try an export straight from FCPX, not using Compressor. Use this preset: File>Share>Master File>Settings, Format: Computer, Video Codec: H.264 Faster Encode, Resolution: 1920×1080.
Time the export, examine the quality, then upload to Youtube in a separate step. Do not use the integrated Youtube upload feature; it’s better to first evaluate the exported disk file, plus this gives understanding of how long export vs upload takes.
Despite the nomenclature, “Faster Encode” looks almost identical to “Better Quality”, yet it better leverages Quick Sync acceleration for encoding.
After doing the above, then consider whether render files can further improve export speed of multiple successive exports. If you have multiple exports or need to slightly adjust the edit each time, make sure timeline is fully rendered (IOW no render dots showing above the timeline). That enables FCPX to use the render cache for export vs re-computing the effects.
You can either use background rendering or manually render the timeline before doing multiple exports. This is not generally necessary but if doing multiple different exports or with slight variations it can save export time.
In general I favor having background rendering disabled, which is in FCPX preferences>Playback>Background render — disable that. The reason is FCPX will never delete old render files and they build up to a huge size, plus you often don’t need continuous background rendering. Instead delete all render files by File>Delete Generated Library Files>Delete Render Files>All. Then do one-time timeline renders as required by CMD+A to select the timeline, then CTRL+R to render.
Before a big series of exports, re-launch FCPX, render timeline as needed, then do export using above preset. Reason: there are a few cases where the render tracking system gets confused and will not use existing render files. Sometimes re-launching FCPX will correct that.